So now the project was actually moving.
I was the developer, programmer, game designer, hardware designer, systems integrator — basically everything. Another important detail is that this fund was not originally mine. It had already been awarded to two other people, and I was paired with them to help develop an idea. For me, that idea was a flight simulator.
To me, it felt like a rare opportunity to test my limits.
Not long after losing my first flight sim project, I had already started fiddling with another one. It had a few aircraft in it, but there was no real game logic. It was more of a rough sandbox than an actual simulator. I initially thought I could build on top of that, but I also knew this was going to be a very complex project. I really needed to sit down and understand what I was actually trying to make.
Because it is one thing to read about an F-16 or an F-35 and repeat how impressive or “badass” they are. It is another thing entirely to understand how those systems actually work together in a mission. For me, that meant going beyond the hype. I needed to understand not just the aircraft, but how they are operated, how their systems are used, and how they support a mission. To be honest, a lot of what I was learning at that stage was still surface-level, but it was enough to start building a mental model.
So Where Do You Even Start?
If you want to build a flight simulator, especially one focused on combat aircraft, the first thing you need is at least a basic understanding of how airplanes work.
Aircraft are not just vehicles. They are systems made up of other systems, all working together to accomplish a task or mission. Once I really started thinking in those terms, it became obvious that I needed to plan more carefully.
So I started researching basic flight, flight controls, and the general structure of fighter aircraft. Very quickly, I got the feeling that this was going to become extremely complex.
But before going too far into that, I still had my earlier flight sim prototype, and that project had a few aircraft in it already:
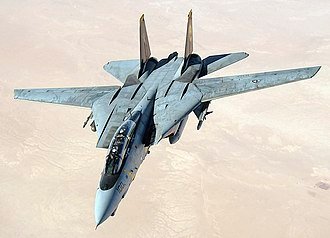
- F-14 Tomcat — because Top Gun had just come out
- Eurofighter Typhoon — because I saw a documentary about it going up against a Su-27
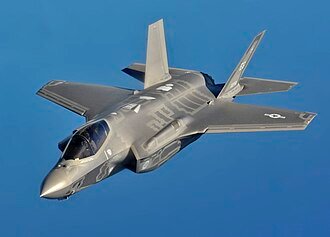
- F-35 — I honestly do not know what I was thinking
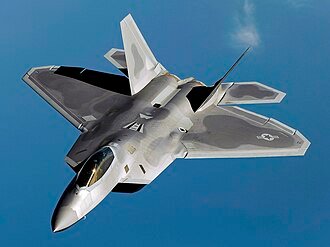
- F-22 — again, I still do not know, maybe I just thought thrust vectoring was cool
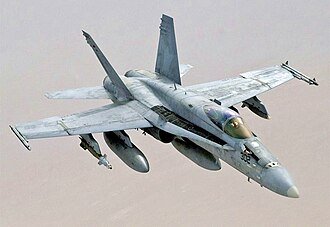
- F/A-18 Hornet — more Top Gun fever
And the funny part is, these planes did not even properly fly yet. I had not really developed the logic for them. The project mostly just had a cool loading screen of an F-14 on a carrier at sunset.
Yes, it was absolutely peak Top Gun fever.

Reality Kicks In
As I kept working, I realised I was never going to finish that version in the time I had.
I had about one month.
And when you think about it seriously, each aircraft would need its own flight model, its own handling profile, and mission logic that reflected what kind of aircraft it actually was. These are not just visual differences. They fly differently, behave differently, and are designed for different jobs.
So I stopped.
That was a big moment, because I realised I needed to start from scratch. I needed to stop thinking like someone adding cool planes into a game and start thinking like someone trying to model a basic fighter aircraft in a structured way.
That meant choosing one aircraft to study properly.
Choosing the Aircraft
I needed something relatively modest, at least by fighter-jet standards. Something not too old, but also not so advanced that I would have no chance of understanding it properly.
That quickly ruled out a few options.
The F-35 and F-22 were out because they were too advanced and I simply did not know enough about them. The F-14 was out because it came from an earlier era and felt less suitable for what I was trying to build. The F/A-18 was a good aircraft, but it was twin-engine, which added another layer of complexity. The Typhoon was also out because I did not know enough about it, and it was twin-engine too.
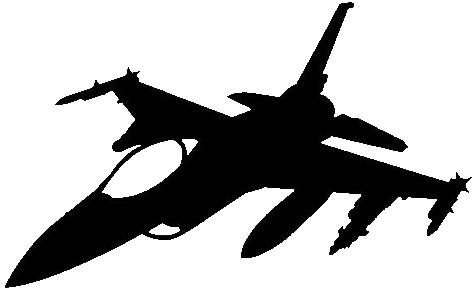
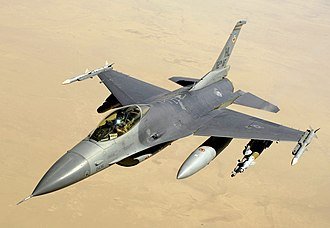
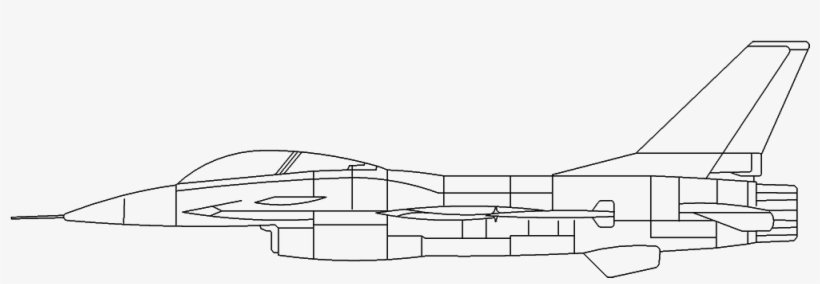
Eventually I landed on the F-16 Fighting Falcon.
The more I looked into it, the more it seemed like a well-rounded and relatively well-documented platform. It felt like something I could actually study, understand, and simplify without completely losing the spirit of a real combat aircraft.
Learning From Manuals
By that time, some of the aircraft I had came with manuals based on DCS, mostly from Chuck’s Guides. I had manuals for the F-14, F/A-18, F-16, and Typhoon, and I started reading them to understand things like startup procedures, sensor modes, weapons modes, and cockpit logic.
What I began to notice was that, despite their differences, fighter aircraft often share a common base model.
Most fighter jets have:
- weapons systems
- sensors
- some form of radar
- an RWR (Radar Warning Receiver)
- sometimes a targeting pod or optical targeting system
- networking or datalink capability
- a way for the pilot to control all of that while flying, usually through HOTAS
That was important, because it helped me stop thinking about specific jets and start thinking about a basic fighter architecture.
So I started building a rough model in my head:
- An engine
- A battery to power systems up
- An emergency or auxiliary power system
- Built-in system checks during startup
- Weapons and sensor modes depending on mission profile
- Countermeasures for defense
- A throttle and sidestick with onboard controls
- Screens and instruments for flight, weapons, and sensors
- Flight control setup and aircraft configuration before takeoff
These were the kinds of basics I needed to identify before I could simplify anything.
Because I was not trying to build the next DCS or Falcon 4.0. I needed to build something that a person could learn and operate with a bit of logic and guidance, while still getting a sense of how the systems fit together.
Simplifying the Fighter Jet
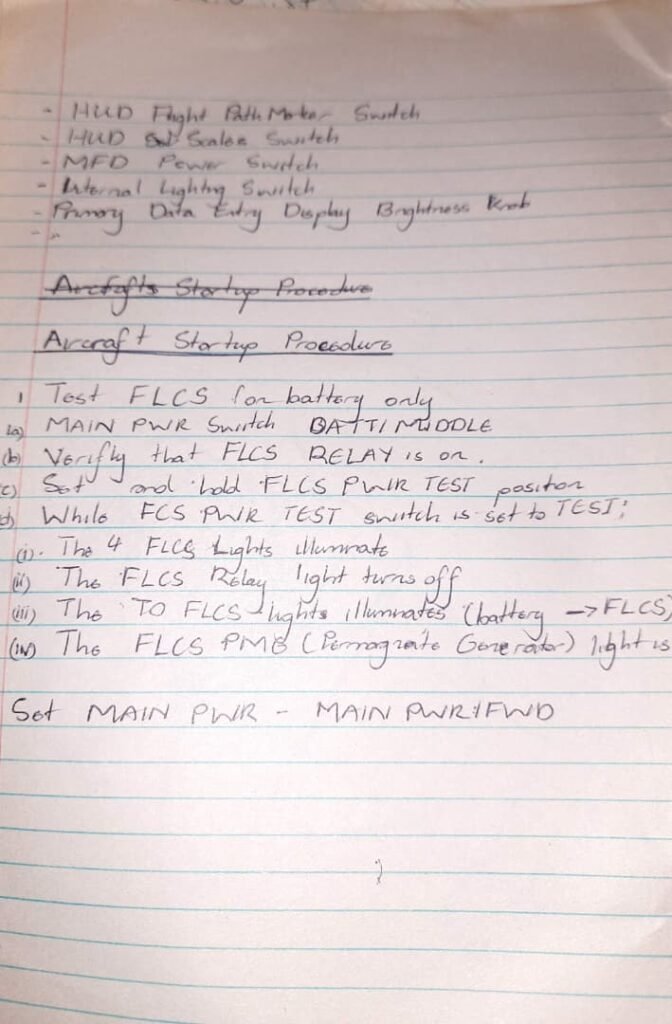
At that point I started reading the F-16 manual (Both the DCS manual by ChucksGuides and real manual) more seriously, because I needed to understand how the aircraft worked from a systems perspective.
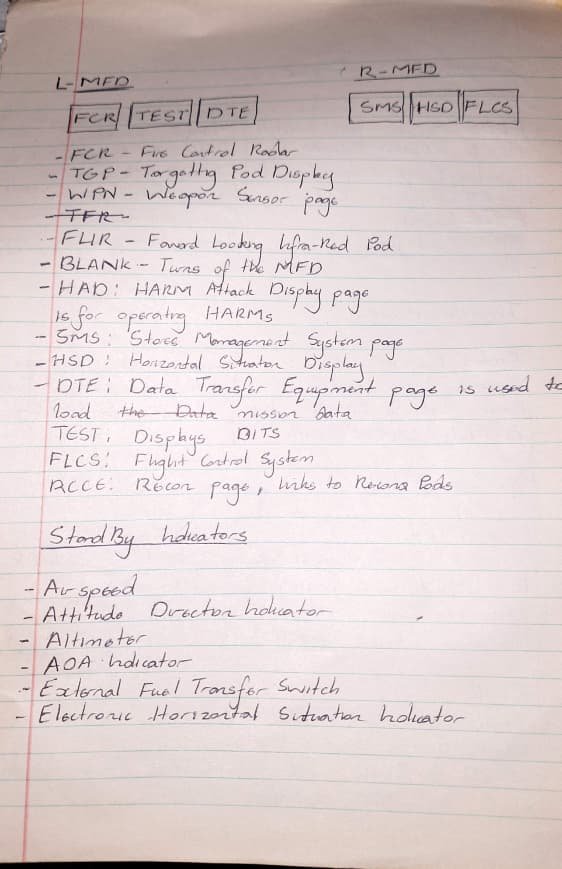
I began learning about startup procedures, system pages, weapons, mission modes, and the broad structure of how the aircraft was operated. I learned about things like:
- AAM — Air-to-Air Mode
- AGM — Air-to-Ground Mode
- NAV — Navigation Mode
Later on, I also looked at SEAD mission concepts and how aircraft use weapons like the HARM to target enemy radar systems. I had read a bit about aircraft like the Prowler and the Growler, and it was a fascinating area of combat aviation.
Then there were the sensors.
A fighter jet can have a lot of them:
- radar
- FLIR
- LANTIRN pod
- LITENING pod
- RWR
- datalink-fed target information from other aircraft or an AWACS
That was a lot to absorb.
So what I needed to do next was stop reading for a moment and start designing.
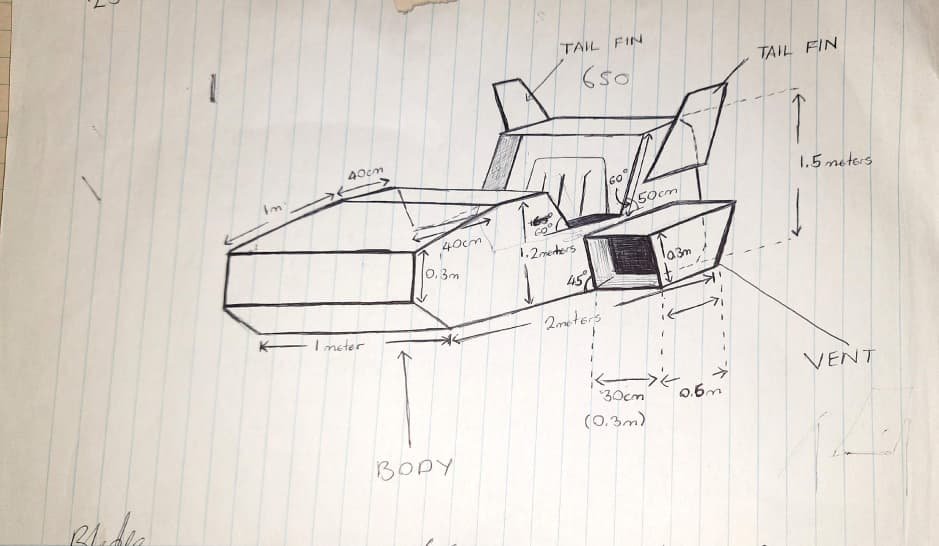
Designing the Cockpit and Feature Set
I started sketching out a cockpit mockup that I could eventually hand to a metal fabricator. At the same time, I began listing out the features I actually needed before I even started serious coding.
The challenge was making it simple and straightforward.
That sounds easy until you realise you are trying to take something like an F-16-style combat aircraft and strip it down without making it boring. I might find the difference between AAM, AGM, LANTIRN, and LITENING exciting, but not everyone else does. So the simulator needed to stay approachable.
I knew early on that I had to simplify several things:
- Startup and configuration — the real process is long, so I reduced it
- Instruments — there were too many, so I focused on the most important ones
- Sensors — instead of many, I chose three core ones:
- basic radar
- basic targeting pod
- basic RWR
- Weapons and modes — I wanted weapons that could fit the major gameplay modes
- Cockpit complexity — it had to be simplified enough to build physically as well as digitally
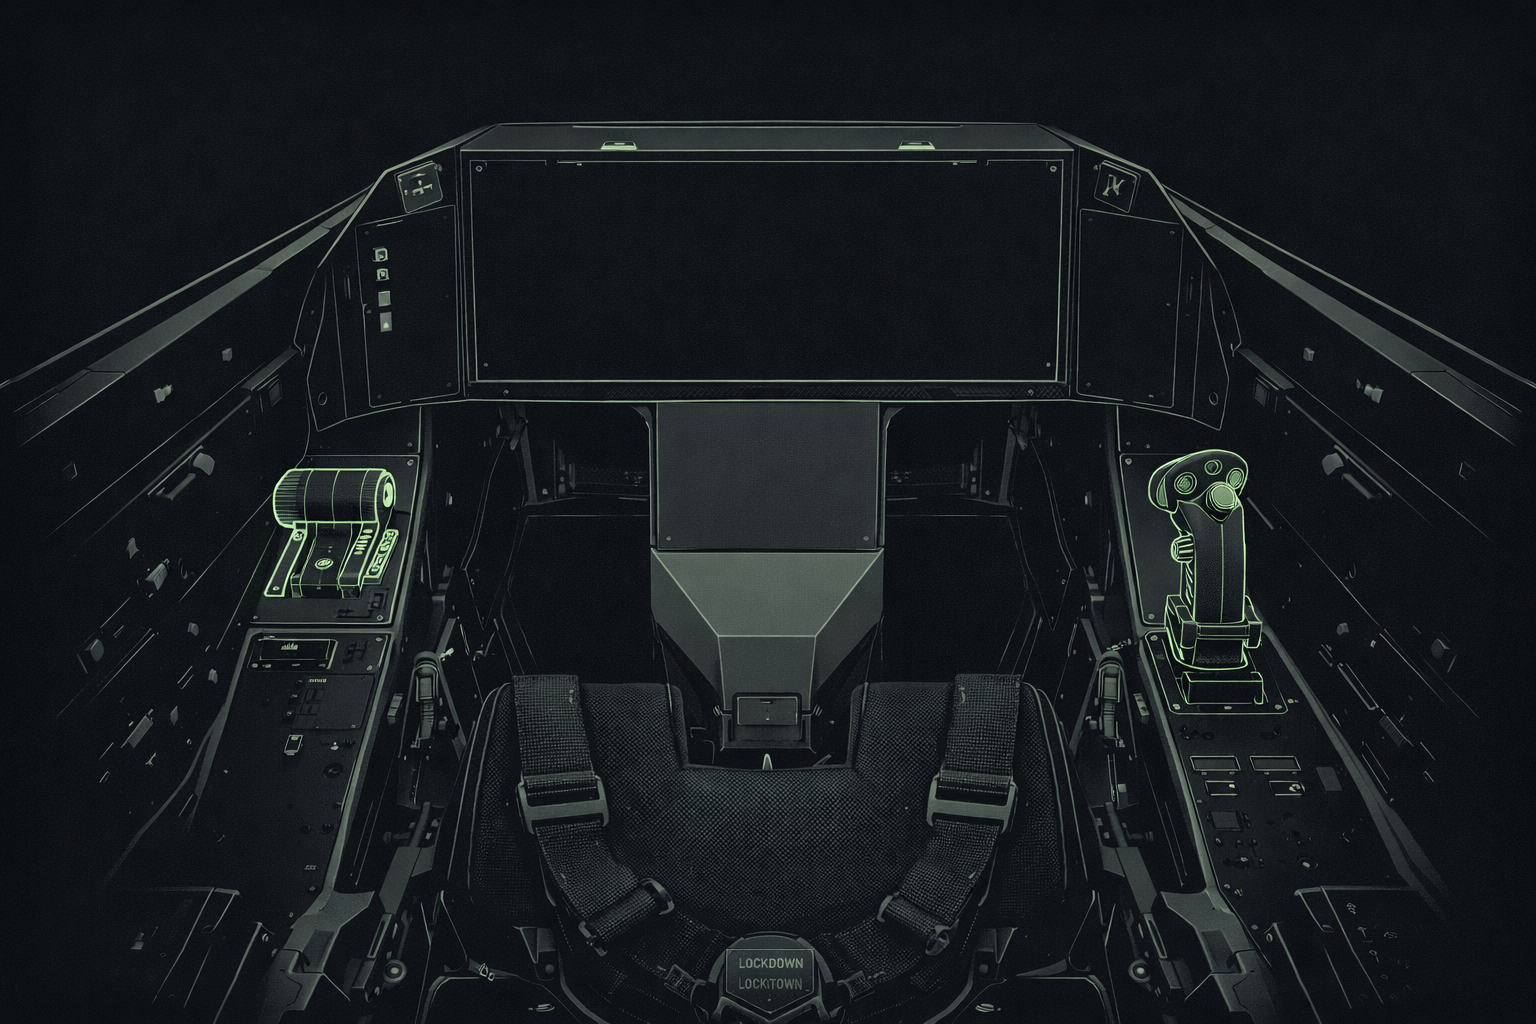
When it came to the cockpit itself, I ended up taking inspiration from the F-35 cockpit. The reason was simple: it had a massive screen and relatively few physical switches compared to older aircraft. I had seen a video about it and liked the design logic behind it. It felt like a good inspiration for something I could realistically simplify and build.
Once I had those ideas laid out, I started crossing out everything I did not need.
That was important.
The sim had to be simple, but not dull. It could not become so stripped down that it lost all character, but it also could not collapse under complexity.

The Budget Becomes Real
Once metal fabrication started, I contracted someone to work on that part.
That immediately consumed about half the project budget.
So just like that, the remaining budget dropped to roughly $550.
At the same time, I started the software from scratch. One of the things I knew I needed to brush up on was flight physics, so I took a short Unity course just to build a working understanding of how aircraft motion should behave.
Yes, I was learning while actively building the project, which was honestly terrifying.
But once I had a rough idea of what I was doing, I began building an environment and testing the F-16 again. Getting the aircraft to fly was challenging, but manageable. I could see that a huge amount of time was going to go into the hardware side and the integration work.
Building My Own HOTAS
I knew I could not just go out and buy something like a Winwing HOTAS setup. That would have destroyed what was left of the budget.
So I had to make my own.
And that part worried me a lot.
Building a sidestick from scratch, building a throttle, adding controls to both, wiring everything together, making sure it all communicated properly, and then exposing the control states through one clean interface — that was not a small side task. It was basically its own project inside the project.
I will talk about that in more detail in a dedicated article, because it deserves one.
First Working Demo
At this point I had a flying demo on my laptop.
That felt great.
There were no weapons yet, no advanced systems, just basic flying through keyboard control. But it was enough to prove that the project had a pulse.
The next thing I wanted to integrate was a cockpit display system with working instruments.
The first system I chose to focus on was the targeting pod.
I have always thought targeting pods have some of the strongest “aura” in combat aviation. Systems like LANTIRN and LITENING just feel incredibly cool. The way the sensor head tracks a target while the aircraft banks or moves, and the way it eventually hits gimbal limits, is fascinating to watch.
So on my F-16, I created a virtual targeting pod, and then I needed a way to command it and stream its image data to the cockpit display.
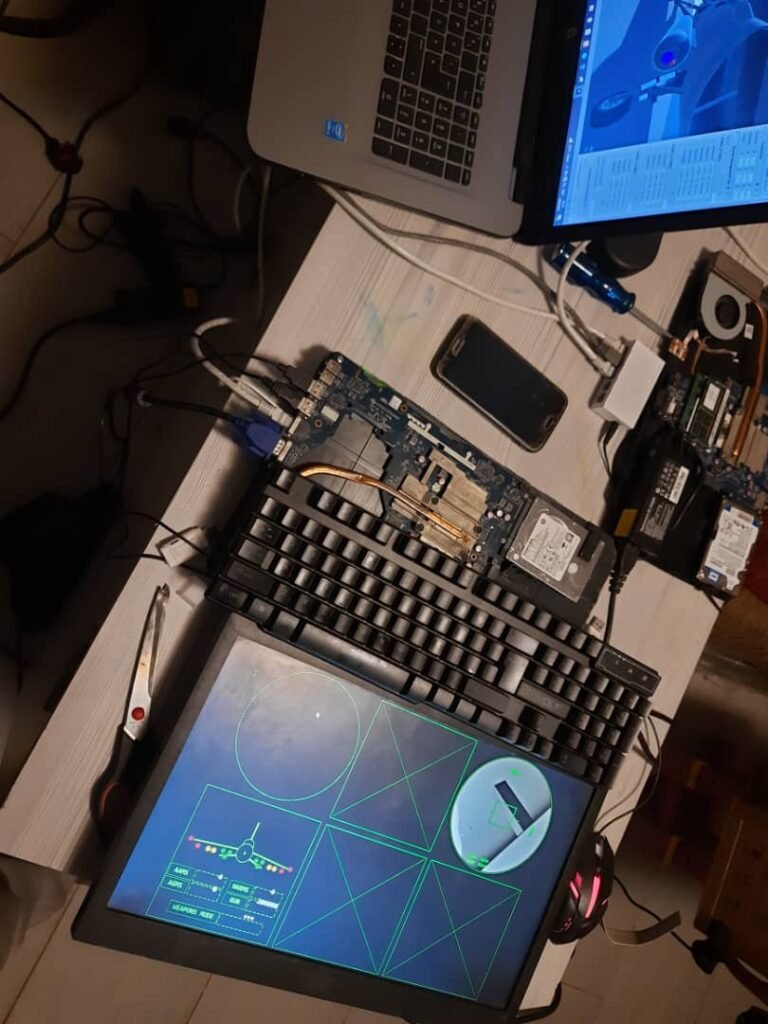
Building the Flight Control Display System
At the same time, I was also building the flight control software that handled the instrument displays.
That setup included six displays:
- RWR display
- Radar display
- Targeting pod feed
- SMS (Stores Management System) page
- Flight state page — gyro, altimeter, speed, yaw
- Flight status page — trims, fuel, engine power
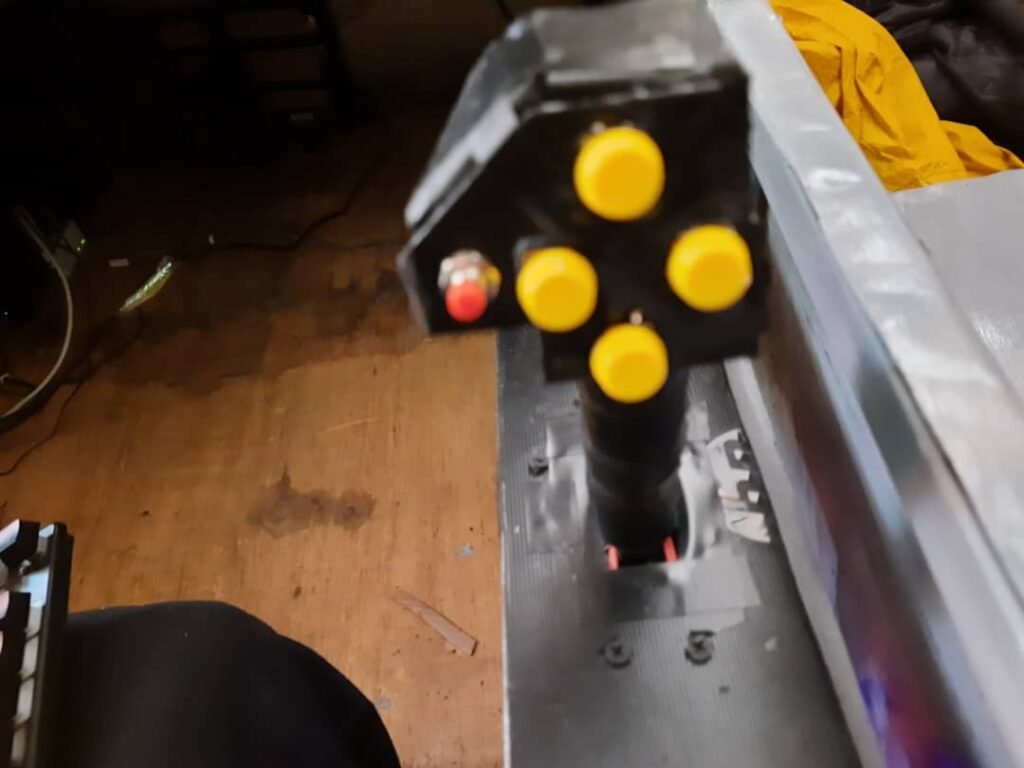
There were also warning lights along the side for things like:
- EPU
- STALL
- CMDS
- Mode
I will also cover that properly in a dedicated article, because there is a lot to unpack there.
The First Targeting Pod Stream
I set up a messy little monitor arrangement in my room and started testing.
After some hours of coding, I managed to stream image frames from the targeting pod. And I will be honest: the code was not elegant. At all.
At the time, I did not really understand image transport, media pipelines, or efficient streaming. I was learning as I went.
To give some context, each frame was around 74 KB. My first instinct was to try sending the entire image blob in a single packet, which is obviously not how network stacks want you to behave. I already knew I wanted to use UDP because I felt TCP would create more problems for this use case.
So I ended up building a very simple UDP streaming system.
And by “simple,” I mean simple in a slightly unhinged way.
I broke the image into chunks and tried to push them through the network as efficiently as I could. I also increased the network card MTU to around 2500 so I could send more data per packet and avoid excessive looping in my code. It was rough, and it definitely could have been done better, but it worked.
The frame rate of the targeting pod display was awful.
I even have a short video showing just how bad it looked.
But it worked.
And at that point, working mattered more than elegance.
The Processing Pipeline
The way it worked was like this:
The targeting pod on the aircraft streamed frames to the flight computer. The flight computer received them, then used OpenCV in Python to remove colour, invert the image into a negative-style view, and apply a mask. After that, the flight software fetched the processed frame and displayed it on the targeting display.
Then it repeated that cycle over and over.
Yes, it could have been cleaner.
Yes, it was a slightly overcomplicated path.
But this was one of those moments where I fell into a classic engineering trap: building something more complicated than it probably needed to be because I was excited that it worked.
Why the System Used Multiple Computers
This setup was never intended to run on one powerful machine.
That would have been ideal, but it was not realistic for the budget.
Buying a gaming computer strong enough to run everything would have cost around $700, which was already too much.
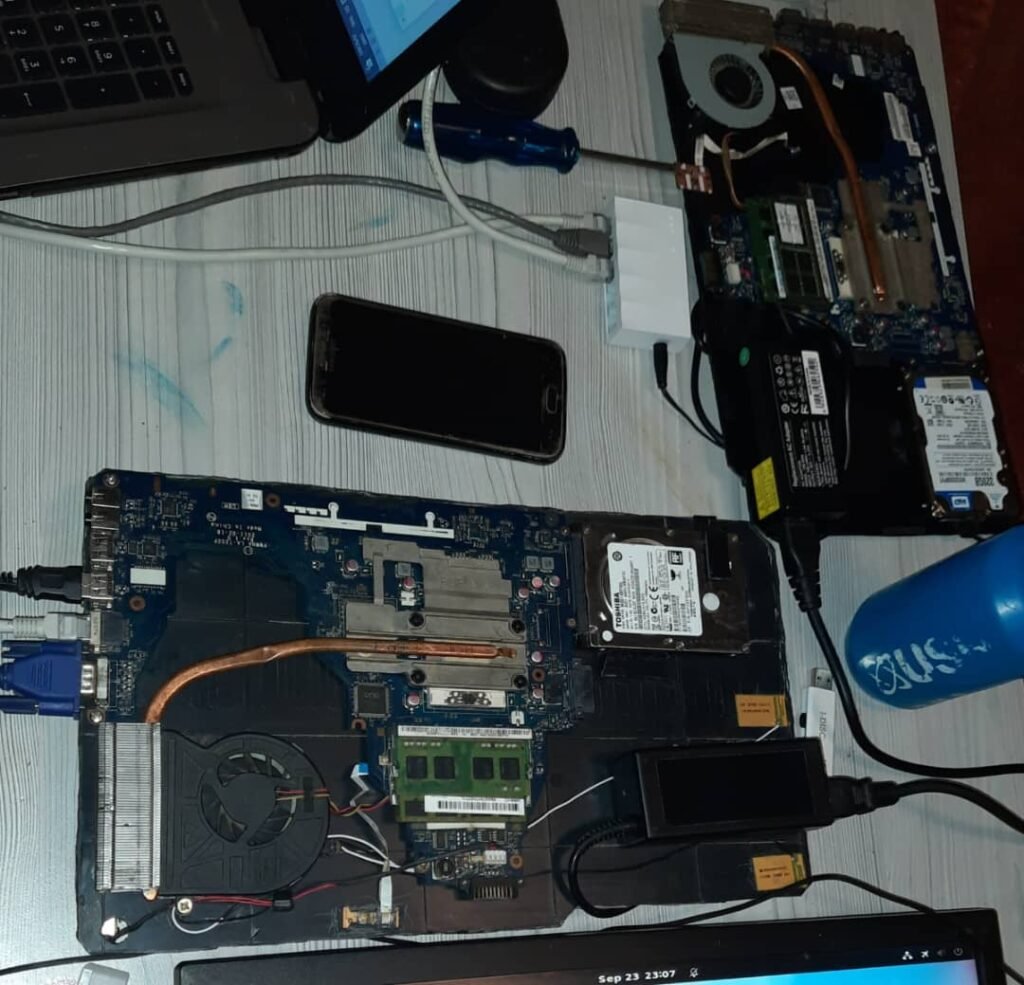
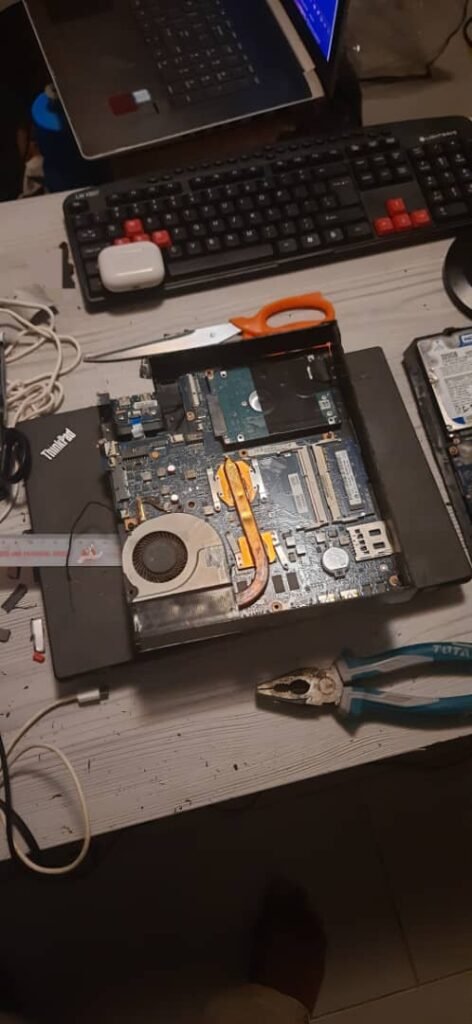
So instead, I did something very different: I bought three broken headless laptops for around $180 total.
One of them actually had an NVIDIA GPU, but it later died because of charger issues, which left me with two usable machines:
- an HP laptop motherboard with 8 GB RAM and a 7th-gen Core i7
- a Toshiba Satellite board, which I used for the flight software
There was even an idea at one point to add a third system dedicated to sensor processing for things like radar and targeting data, but I eventually dropped that idea because it was just becoming too much.
Choosing Linux
There was never any serious chance I was going to use Windows for this setup.
So I chose Linux, specifically Ubuntu.
I installed Ubuntu Server on both machines. On the game computer, I added a lightweight desktop environment, XFCE, because I wanted to keep resource usage low. On the flight-control computer, I also added GNOME, mostly because I did not want to spend too much time fiddling with Linux setup details.
So in simple terms, the system had two nodes:
- Game computer — ran the simulation itself
- Flight control computer — ran the instruments software and hardware drivers, then sent control state data back to the simulation
Both systems were connected through a basic Ethernet switch so they could communicate over the network.
That was the architecture.
Not elegant, not luxurious, but realistic.
And in some ways, it made the project feel more like a real distributed system than just a game running on one PC.
A Real System Starts to Emerge
Once I had a basic flight control system talking to the aircraft, the project started to feel real.
I could stream targeting pod data. I could enable and disable systems. I could push weapon-related information to the stores management page.
And yet, even then, it still felt like the beginning.
Because there was still so much left to do:
- build the weapons so they could actually hit targets
- pass targeting data from sensors to those weapons
- finish the custom hardware controls
- integrate all the physical systems cleanly
- build out a simple game level
- make the whole thing feel coherent instead of like a collection of experiments
So there was still a lot to do and a lot of challenges to overcome.
I enjoyed reading every bit. You made me walk through the process & I got to know a lot about this aeronautics & coding. Gut gémacht brudi
Thank you, I am working on publishing more articles related to this project