At this point, I had a rough idea of what I was doing.
I would not say I had everything figured out, but I knew what I wanted to build, and more importantly, I had started breaking it into parts. That was important, because there was no way this project was going to work if I treated it like one giant task.
I knew the project had three main parts:
- Hardware — controls, compute systems, and the cockpit mockup
- Software — the game, the flight control software, and controller logic
- Networking — the part that linked everything together
Once I started thinking in those terms, the project became much easier to manage mentally, even if it was still difficult in practice.
Starting With the Mockup
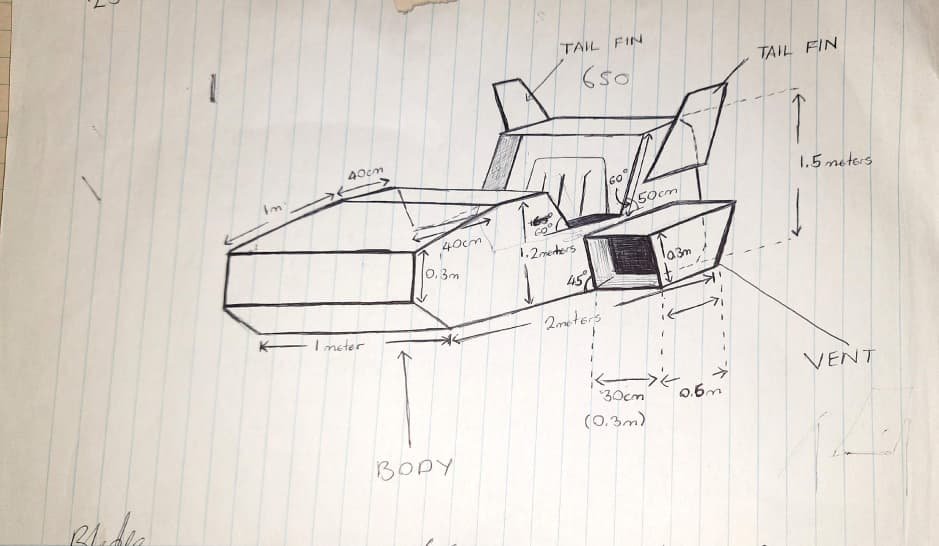
The first major hardware task was the cockpit mockup.
My idea was to build a simple physical structure that could hold the displays, compute hardware, and later the controls. I sketched out the design and came up with rough dimensions that a fabricator could use to build it. That part became an ongoing task, because someone else was handling the fabrication side, so once I handed over the design, I had to shift my attention back to the other parts of the project.
That was the pattern for a lot of Airborne Renegade: one part would be moving in the background while I focused on another.
Developing in Parallel
While the mockup was being built, I was working on both the game and the flight control software.
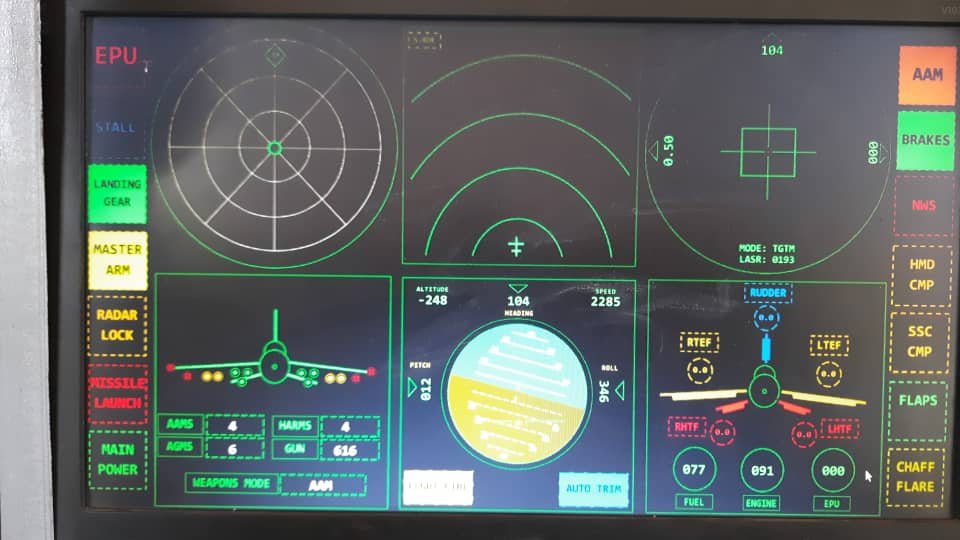
That meant building the flying aircraft in the simulator while also developing the instrument side of the project: displays, status pages, and the software that would eventually sit in front of the pilot. At the same time, I was also working on the primary hardware, especially the display setup, and making sure it could talk to the aircraft in-game, receive data back, and actually show something useful.
So even though it might sound like a neat step-by-step process in hindsight, it really was not. A lot of things were happening at once.
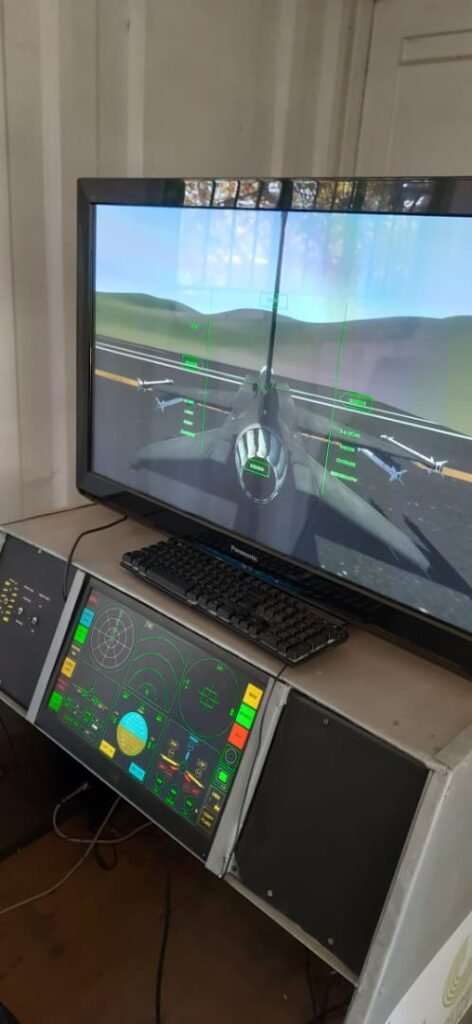
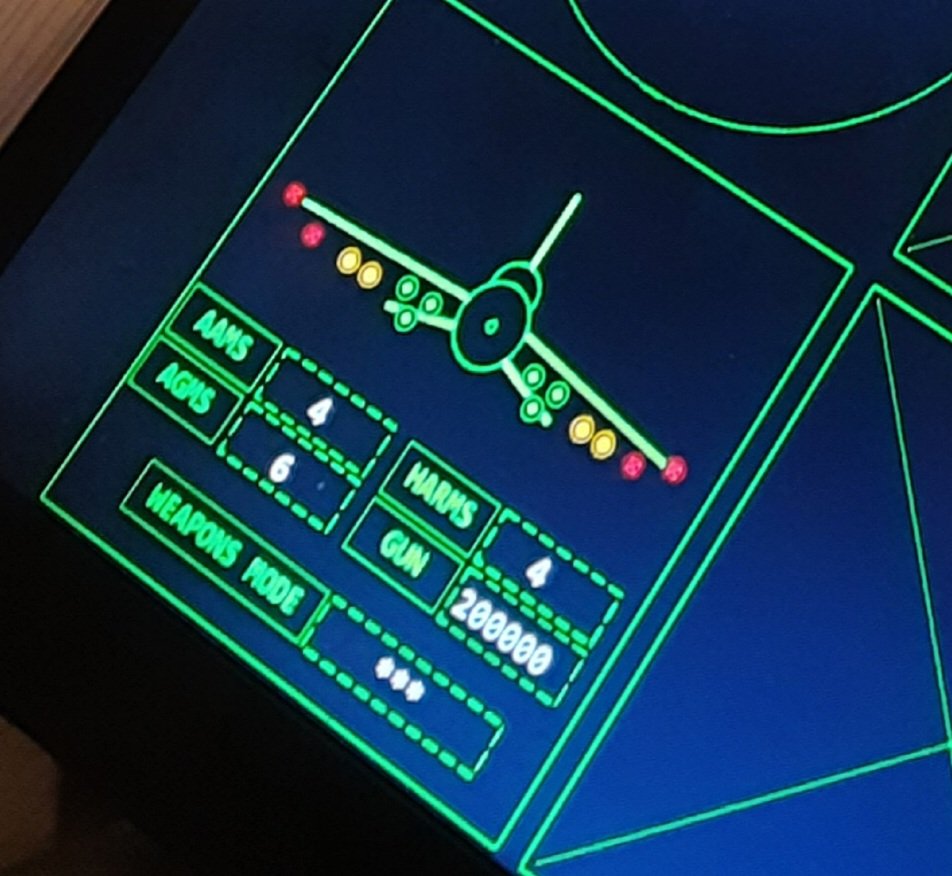
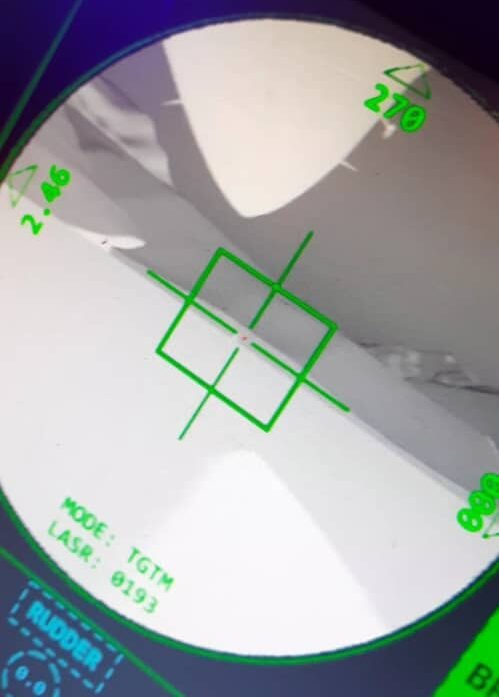
After a while of going back and forth between those pieces, I had a flying aircraft and the beginnings of a working flight control system. Out of the six displays I eventually wanted, only two were working at that stage:
- the targeting pod display
- the stores management page
That may not sound like much, but it was enough to prove that the architecture was starting to work.
Bringing the Hardware Together
After about two weeks of work, the cockpit mockup was finished and needed to be transported back.
So I took what I had been building at home — the flight computers, the displays, and the other main hardware pieces — and brought everything over so I could start fitting it into the mockup.
At that point, I still had not started building the controls.
That is important, because from the outside it might sound like the controls would come first, but in reality I needed the physical structure, displays, and computers mounted properly before I could understand how the whole system would fit together.
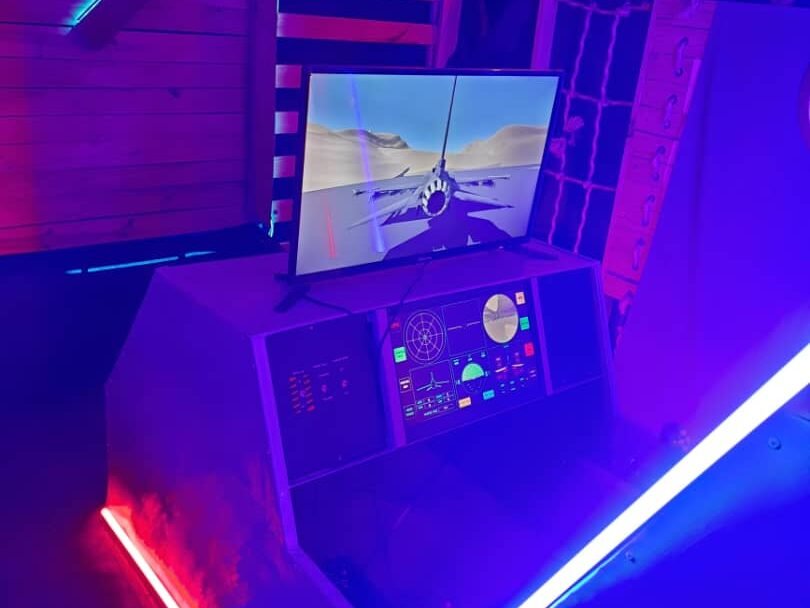
So I started bolting in the displays, the flight control computer, and the game computer. Once those were physically in place, powered up, networked, and wired, things finally started to feel like they were coming together.
And once that part was stable enough, I moved on to the next major challenge: the controls.
Building the Controls
Modern fighter jets typically use a HOTAS setup — Hands On Throttle and Stick.
The whole point is that the pilot can control important systems without taking their hands off the throttle and stick. So if I wanted the simulator to feel believable, I had to build my own version of that idea.
That meant making:
- a throttle control
- a side-stick controller
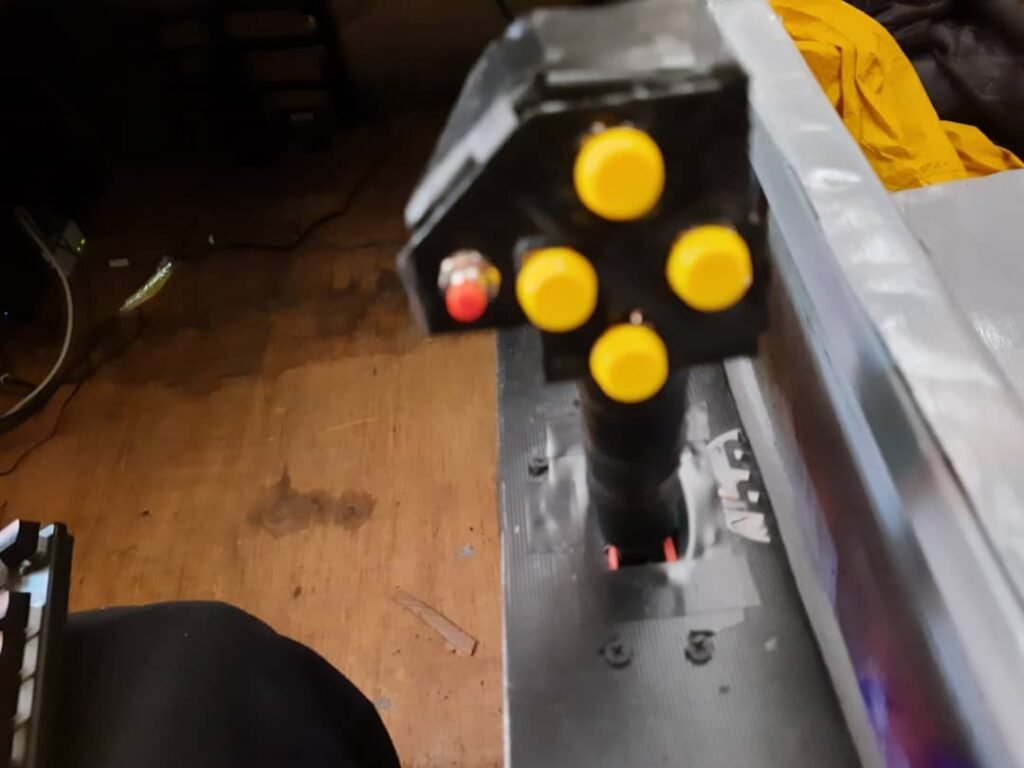
- additional switches and buttons
- the supporting software needed to make all of those inputs useful
But it was not just a hardware problem. It was also a systems problem.
I needed the controllers to communicate with the rest of the setup, and I needed their inputs to make sense inside the game and the flight control software.
So the plan was to divide the control system into sections.
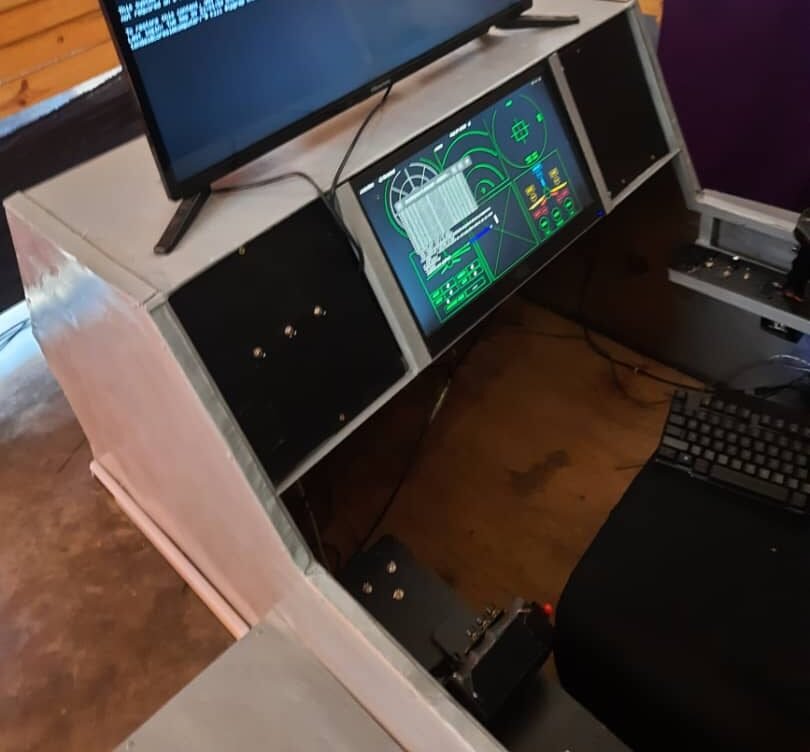
I designed it around a left control panel and a right control panel, with each panel having its own microcontroller module to capture switch and knob states. Those microcontrollers would then send their data to the flight control computer. On that computer, I ran background software that could process the controller inputs and send them back into the game.
That way, the simulator was not relying on the traditional controller input architecture inside Unity. Instead, I built my own system where control states were sent over the network, read by scripts, and then used to drive the aircraft.
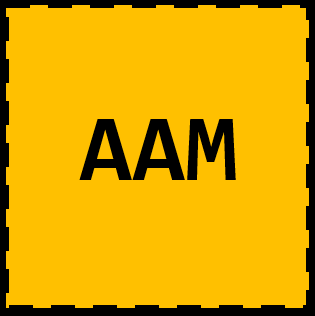
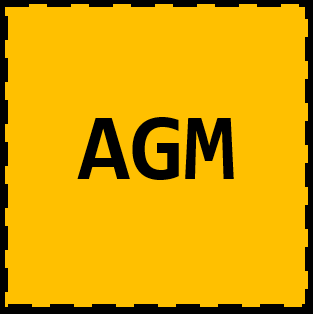
So, for example, if I flipped a mode switch into AGM mode, that state could be sent through the network and interpreted by the game, which would then change the aircraft into that mode.
That approach gave me a lot of flexibility.
Really, once that pipeline existed, you could make almost anything happen.
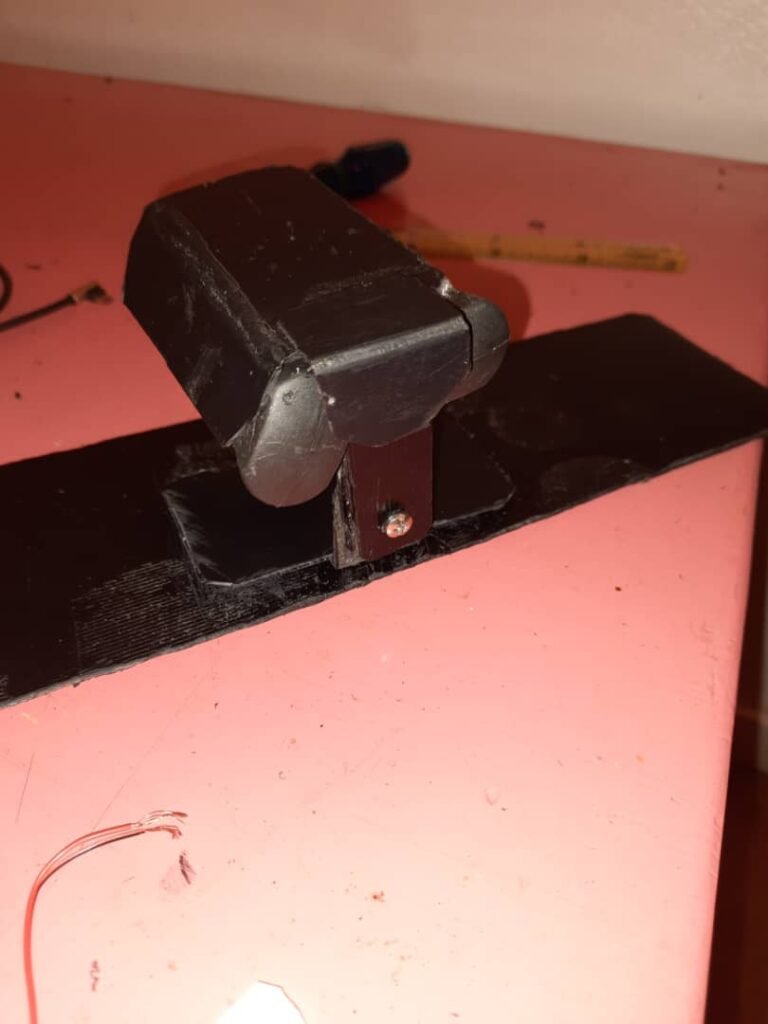
Improvising the Hardware
I did consider 3D printing some of the controller parts.
But the problem was time and cost. It would have been too slow, and for this project I had to stay practical. So instead, I improvised and built as much as I could from scratch myself.
That meant a lot of manual work, a lot of problem-solving, and a lot of late nights.
There were many nights where I was working into midnight or the early hours of the morning just trying to get the next piece done. That was the reality of the build. There was no polished production pipeline behind it. It was just me trying to solve one problem after another and keep the project moving.
Making the Visual Assets Too
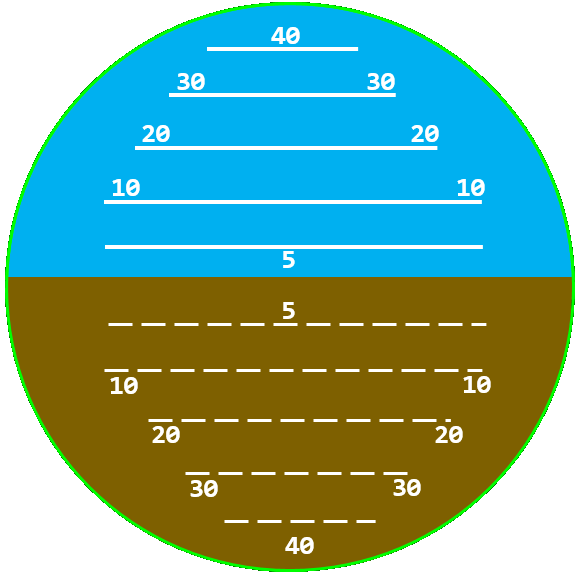
At the same time, I also had to create visual assets for the flight control software.
That included interface symbology and display elements for the instrument pages. And strangely enough, one of the tools I used a lot for that was Microsoft Word.
It sounds ridiculous, but Word is actually surprisingly capable when you start abusing shapes and layout tools. You can build some pretty unusual things with it if you are determined enough.
So while I was building hardware, writing software, and testing network communication, I was also making UI assets in Microsoft Word and then bringing those into the system.
That gives you an idea of how mixed and improvised the whole workflow really was.


Everything Was Happening at Once
This period of development was basically an overlap of multiple jobs happening in parallel.
I would work on the game, then switch to implementing a feature in the flight control software that matched that feature, and then move to the controller side to map it onto custom hardware. Sometimes I would even fall back to keyboard controls on the laptop just to test whether a bug was coming from the game logic or from the custom control system.
It was messy, but it was working.
And that is really what this phase of the project was about.
It was not clean. It was not elegant. It was not a finished simulator. But it was the moment when Airborne Renegade stopped being just a concept and started behaving like a real interconnected system made up of hardware, software, and networking all working together.